
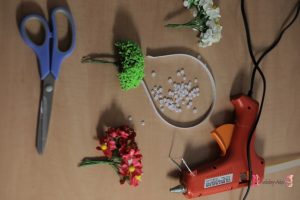
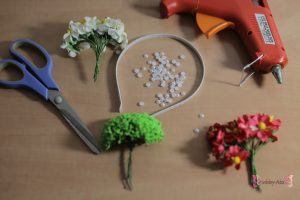
You have some event coming and you are wondering what to do with your hair? Here is one hair accessory that you can wear and it’s so simple to make, that you can do it yourself. For this DIY you need only few things:
- Clean head bend
- Pearls for gluing
- Different flowers for decorating
- Hot glue gun
- And some creativity
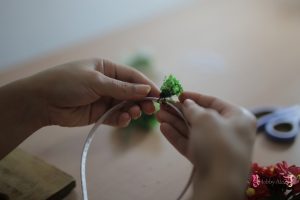
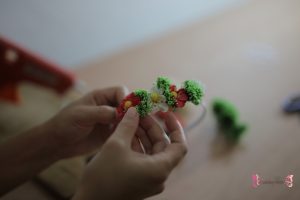
The first thing you need to do is to take your head bend and measure where the middle is. Then start wrapping around the wires of the flowers. If your flowers don’t have wires you can glue them on the head bend with hot glue gun.
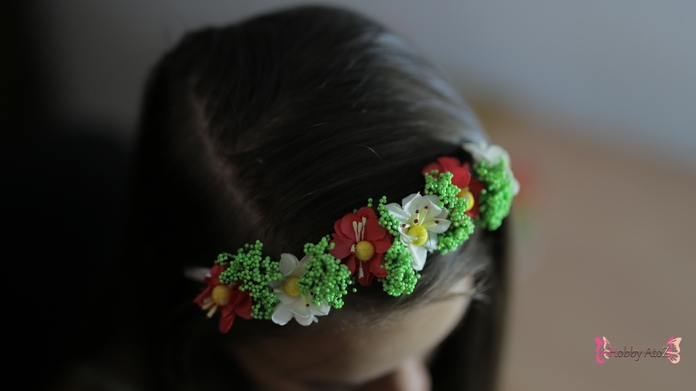
You can use flowers in different colors and also different types of flowers. I have used one type of decorating flowers in two different colors and one type of green branches. So, I’ve started in the middle with a branch and then I was mixing branches and flowers on the both sides.
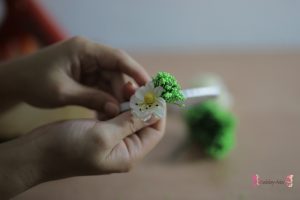 Now you are going to repeat the same procedure until you are satisfied with the look. You can add more or less flowers depending of your taste.
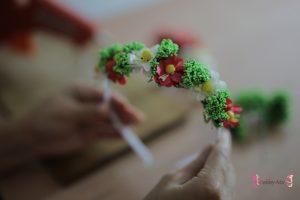 When you finish with adding the flowers, it’s time so start with the pearls. Take the pearls and start gluing them one by one with hot glue gun until you reach the end of the head bend.

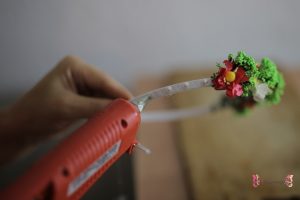 Repeat the same procedure on the other side.
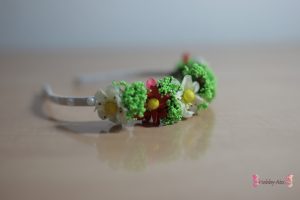
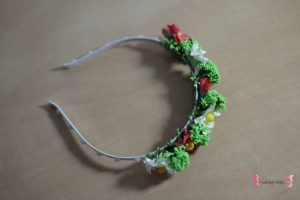
The finished head bend should look like this. Put it in your hair and make everyone stare at you asking where you bought it.
 Some additional advice:
Feel free to use different colors and different types of flowers. You can also continue adding only flowers until you reach the end of the head bend. The result will be stunning and more vintage, floral head bend perfect for every day. If you use only branches you can reach completely new more natural head bend.


